
How to Waterproof Shoes with Spray: Prep, Apply and Reapply
To protect shoes with spray, start with clean, dry material and patch-test a hidden area. Shake the can, apply from about 15–20 centimetres away, remove any excess before it dries, and leave the shoes for one hour. A spray improves water resistance; it does not seal seams or openings.
Rain and puddle water can wet upper fabrics and stain suede. A protector gives compatible materials a barrier against moisture and everyday dirt.
A good result depends on material compatibility, surface preparation and enough drying time. The product label sets the application distance and any reapplication instructions.
What is the difference between water-resistant sprays and truly waterproof footwear?
A spray improves water resistance at the surface. It does not make every pair fully waterproof.
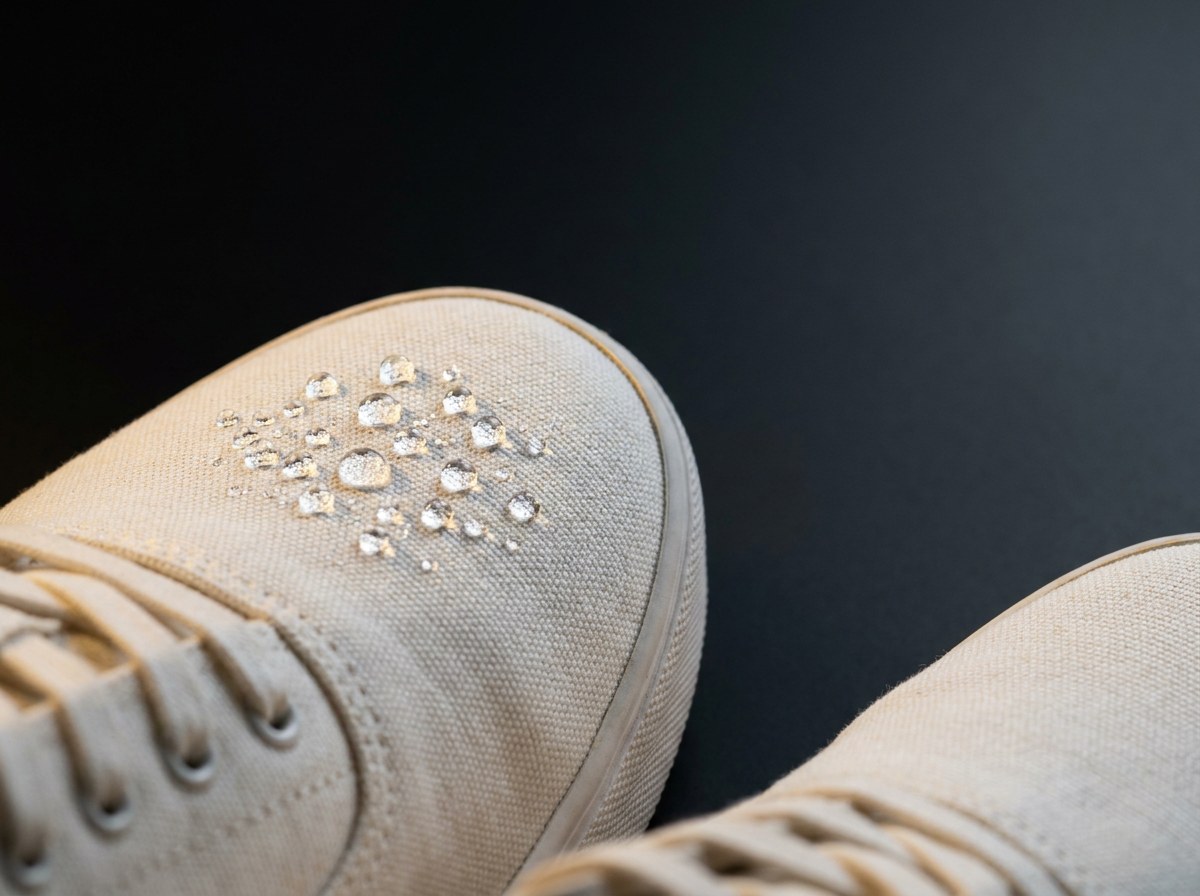
On a suitable, protected material, water is more likely to bead and roll away.
A topical spray leaves needle holes, stitching seams, eyelets and tongue openings unsealed. Water can enter through those openings under pressure or immersion.
For deep puddles and heavy rain, the shoe’s construction matters most. Treat spray as extra protection for the upper.
Why is thorough cleaning and complete drying essential before spraying?
Do not apply protector over dirt or damp material. The WATER PROTECTOR instructions require clean, dry footwear before application.
Loose dirt can flake away with the treatment and leave gaps. A coating can also trap stains in the weave. If your footwear is marked, clean white mesh trainers or treat leather panels according to their care label before applying spray.
Residual moisture can also make it hard to judge coverage and drying. Wait until the upper, lining and padding feel dry before applying the product.
For light marks, the shampoo-filled CLEANING SPONGE combines cleaner and applicator. ACTIVE FOAM handles broader upper cleaning, while SNEAKER CLEANER targets rubber elements and soles. Follow each label, remove cleaner residue, and let the whole shoe dry before spraying.
How do different sneaker materials react to waterproofing sprays?
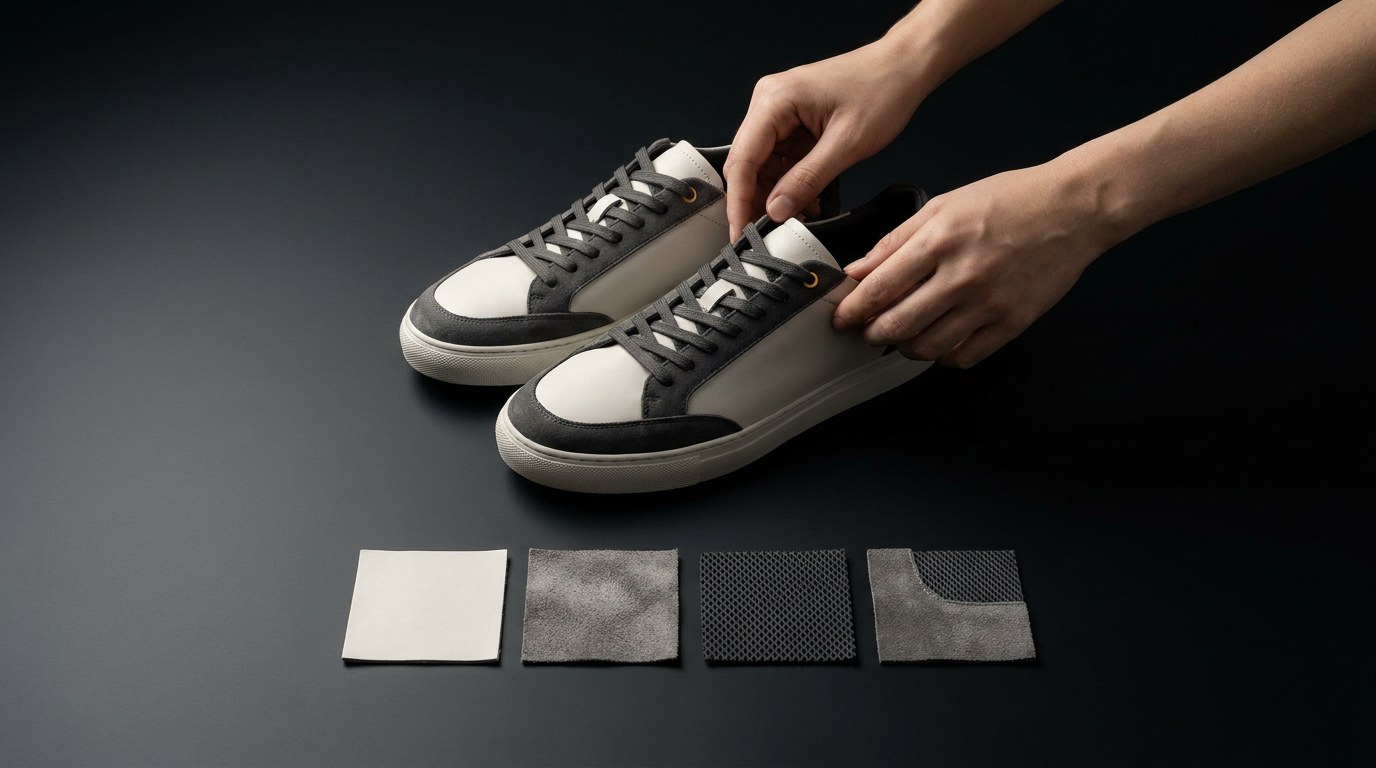
One pair can combine several materials. Check each one and patch-test a hidden area before spraying.
Suede and Nubuck
Choose a protector labelled for suede or nubuck. Avoid soaking the nap or substituting an unsuitable oily cream.
Synthetic Knits and Open Mesh
Use a textile-compatible protector on engineered mesh, canvas and synthetic blends. Open weaves still have gaps where water can enter, so keep the water-resistant-versus-waterproof limit in mind.
Smooth Full-Grain Leather
Choose care products for the particular leather and finish. Not every smooth-leather shoe needs the same treatment.
Follow the shoe maker’s instructions and the product label. Apply a thin layer without flooding the surface. If the pair also needs a conditioning cream, use the order stated in the care instructions.
Mixed-Material Trainers
Many trainers combine suede, mesh and smooth leather. WATER PROTECTOR lists leather, suede, nubuck and textiles as compatible, but you should still patch-test a hidden area before treating a mixed-material pair.
What is the safest spray and preparation method for each material?
Use this overview alongside the care instructions for your particular model.
| Material | Suitable Spray Type | Preparation | How to Apply | When to Stop |
|---|---|---|---|---|
| Smooth Leather | A product whose label names smooth leather, or a maker-approved cream/wax | Wipe clean, condition if the shoe maker requires it, and dry | Follow the protector label; WATER PROTECTOR specifies a thin layer from about 15–20 cm | Stop before liquid pools; check for colour or finish change |
| Suede & Nubuck | A product whose label names suede and nubuck | Dry brush to lift the nap; patch-test; dry fully | Follow the label in sweeping passes | Stop before the nap becomes soaked or matted |
| Mesh & Canvas Textiles | A textile-compatible protector | Clean, remove residue and dry fully | Apply the label-specified thin, even layer | Stop before liquid pools in seams or the weave |
| Mixed-Material Trainers | A product that lists every upper material | Clean each zone, patch-test each material and dry fully | Use the distance and coat count on the label | Stop if any panel changes colour or finish |
How to use waterproof spray on shoes: a step-by-step protocol?
Prepare a dry pair and a well-ventilated place before you begin.
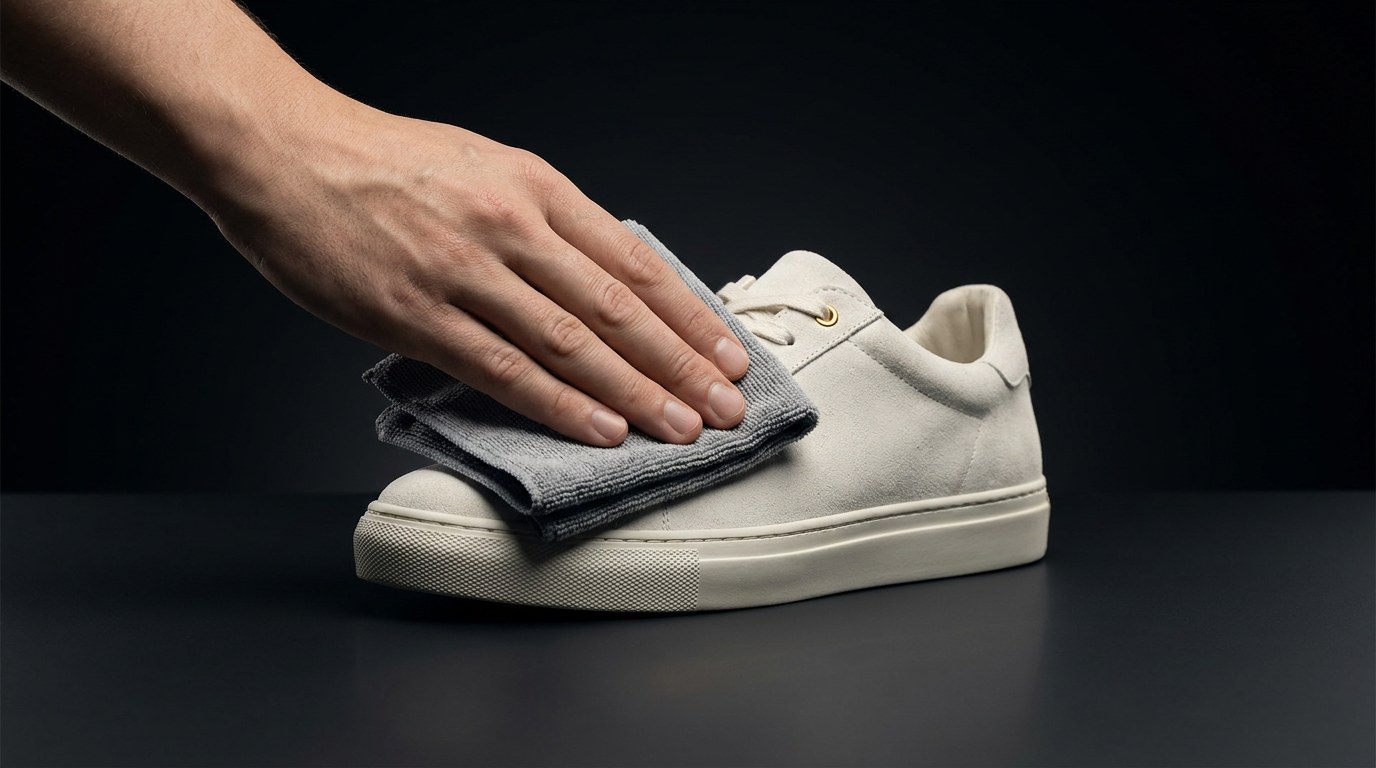
Step 1: Material Inspection and Care Guidelines
Examine the care tag on the inner tongue to verify material composition. Note any manufacturer guidance against specific solvent classes or delicate finishes like metallic foils.
Step 2: Surface Cleaning and Debris Removal
Clear away embedded dirt, mud, and dust. Brush down the upper using a soft horsehair brush, paying attention to the welt where the sole meets the upper.
Step 3: Verify Complete Dryness
The outer fabric can feel dry while the padding still holds moisture. Wait until the upper, lining and footbed feel dry before applying spray.
Step 4: Conduct an Inconspicuous Patch Test
Dyes and finishes can react differently to a protector. Apply a small amount to a hidden area, such as the inner tongue edge, and assess it after the label's drying period. Stop if the colour or finish changes.
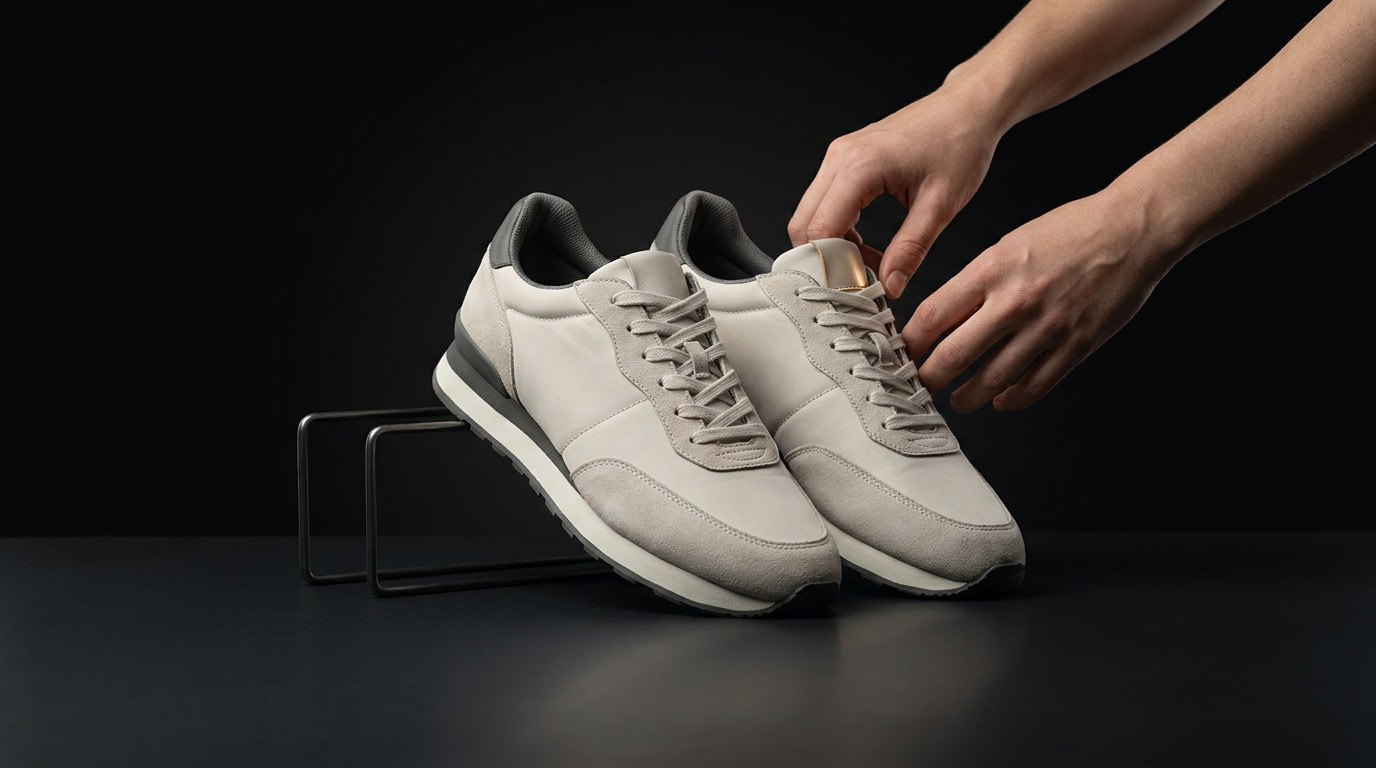
Step 5: Maintain Distance and Continuous Motion
Take shoes outdoors or into a well-ventilated space. Shake the can as directed on its label.
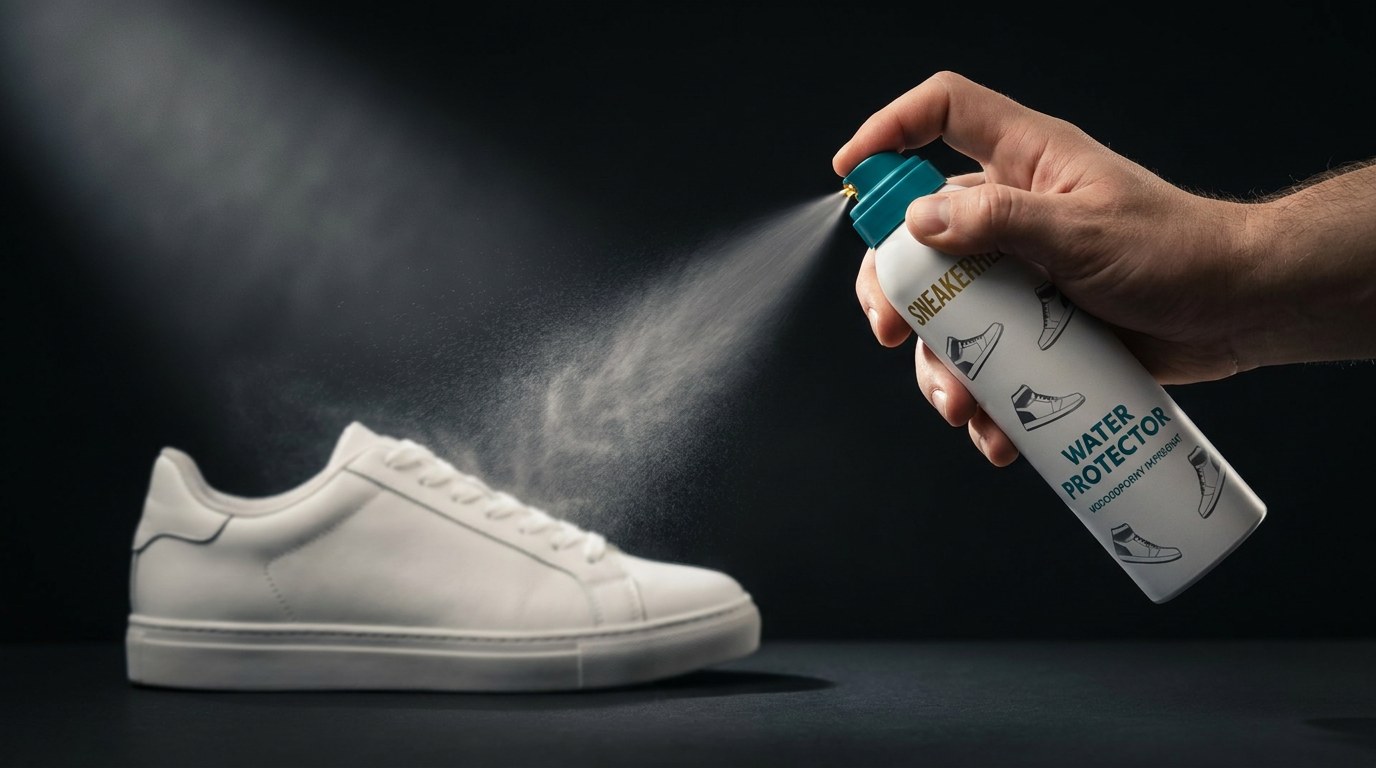
Hold the nozzle 15 to 20 centimetres away from the shoe surface. Depress the nozzle fully and apply the spray in smooth, sweeping passes. Start spraying slightly off to the side, sweep across the upper, and release past the edge to avoid start-and-stop puddles.
Step 6: Remove excess and let the pair dry
Use the number of coats and drying time on the current label. For WATER PROTECTOR, remove excess before it dries and leave the shoes for one hour.
How to apply spray and dry the pair safely
Good ventilation matters both during application and while the treatment dries.
Choose a ventilated place
Do not breathe in the spray mist. Choose the location directed on the label, away from children and pets.
Avoid spraying in a small, closed bathroom or bedroom. Follow all warnings on the packaging.
Dry at room temperature
Wear the pair only once dry and after the label’s waiting time.
Never place treated trainers on radiators, under hair dryers, or in harsh direct sunlight. Excessive heat weakens shoe adhesives, warps heel counters, and causes protective films to cure unevenly into cloudy streaks.
How long does waterproof spray last on shoes, and when should you reapply?
There is no single reapplication interval for every pair. Weather, wear and cleaning all affect how long the protection lasts.
The treatment gradually wears down through:
- Rubbing and flexing as you walk.
- Repeated exposure to rain, mud and road salt.
- Cleaning and washing.
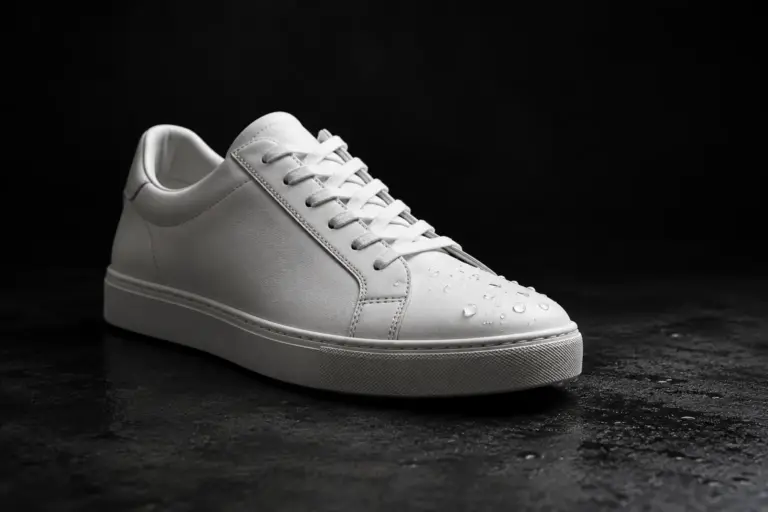
Instead of tracking calendar dates, use the water droplet test. Flick a drop of clean water onto the toe box. If the droplet beads into a sphere and rolls away, protection is active. If it flattens or darkens the fabric, it is time to reapply.
Assess protection after cleaning too. If the pair is damp or smells stale, dry and clean it first; see our guide to freshening shoe interiors.
FAQ
How long does waterproof spray last on shoes?
It depends on the material, weather and use. Watch how water behaves on the surface and follow the label rather than assuming a fixed number of days.
Does waterproofing spray change the colour or texture of suede?
Any protector can change the colour or feel of suede, especially if the label does not name suede or the user applies too much. Choose a suede-compatible product and patch-test a hidden area. Dry-brush the nap, apply the label-specified thin layer, and reassess the finish after drying.
Does waterproof spray survive a machine wash or deep clean?
Cleaning can reduce the protective treatment. Once the pair is fully dry, assess the surface and follow the label for reapplication.
Can you make non-waterproof trainers 100% waterproof with spray?
No. Waterproofing spray increases surface water resistance, causing rain and splashes to bead off outer fabrics. It cannot seal functional openings such as tongue gussets, stitching holes, lace eyelets, or open-mesh voids. Submerging treated trainers in deep puddles will still result in water entering through structural openings.
How do you test if your shoes need another coat of spray?
Perform a water droplet test. Place a single drop of water onto the vamp or toe box. If the droplet forms a spherical bead and rolls off freely when tilted, the protective barrier is active. If the droplet flattens, soaks into the weave, or leaves a darkened wet spot, clean the area and reapply your spray.
 English
 Polish
 German